- 18 October 2023
Mastering DIY Mirror Installation
Mirrors are more than just reflective glass – they are key design elements that can bring depth, light, and a touch of sophistication to any space. Whether you're giving your New Zealand home a makeover or renovating a commercial establishment, knowing how to properly measure and install mirrors is a valuable skill. In this comprehensive guide, we will walk you through the step-by-step process of measuring and installing mirrors, ensuring that they not only elevate the aesthetics of your space but also serve their intended purpose effectively.
Step 1: Measure Twice, Install Once
Before you embark on the journey of mirror installation, it's crucial to begin with precise measurements. Equip yourself with the following tools:
- Measuring tape
- Pencil
- Level
- Protective gear (gauntlets / gloves)
- High-tack mirror glue OR
- Mirror clips/brackets
1.1. Measure the Wall: Use a measuring tape to determine the width and height of the area where you plan to hang the mirror. Record these measurements meticulously. If you're mounting the mirror in a recess, subtract 3 millimeters as clearance.
1.2. Determine Placement: Decide where the mirror will be positioned on the wall, taking into account the surrounding decor and potential obstructions. In bathrooms, be especially mindful of taps and handles that might complicate the installation.
1.3. Mark the Mounting Points: Using a pencil, mark the top corners of the mirror on the wall. Use a level to ensure these points are level and at the desired height.
1.4. For Brackets – Calculate the Hanging Points: Typically one of our brackets is more than enough, but depending on the mirror's weight, you might want multiple brackets or clips. Calculate the spacing between them, ensuring an even distribution.
Step 2: Preparing the Mirror
Before installing the mirror, make sure it's in pristine condition. Follow these steps to ensure that your mirror is ready for mounting:
Clean the mirror surface with a glass cleaner and a lint-free cloth.
Ensure that the mirror's edges are smooth and free of any chips or cracks.
Attach the mirror clips or brackets to the back of the mirror, following the spacing calculated in Step 1.
Step 3: Installation
With your measurements and preparations in place, it's time to securely install the mirror on the wall:
3.1. Using High-Tack Mirror Glue
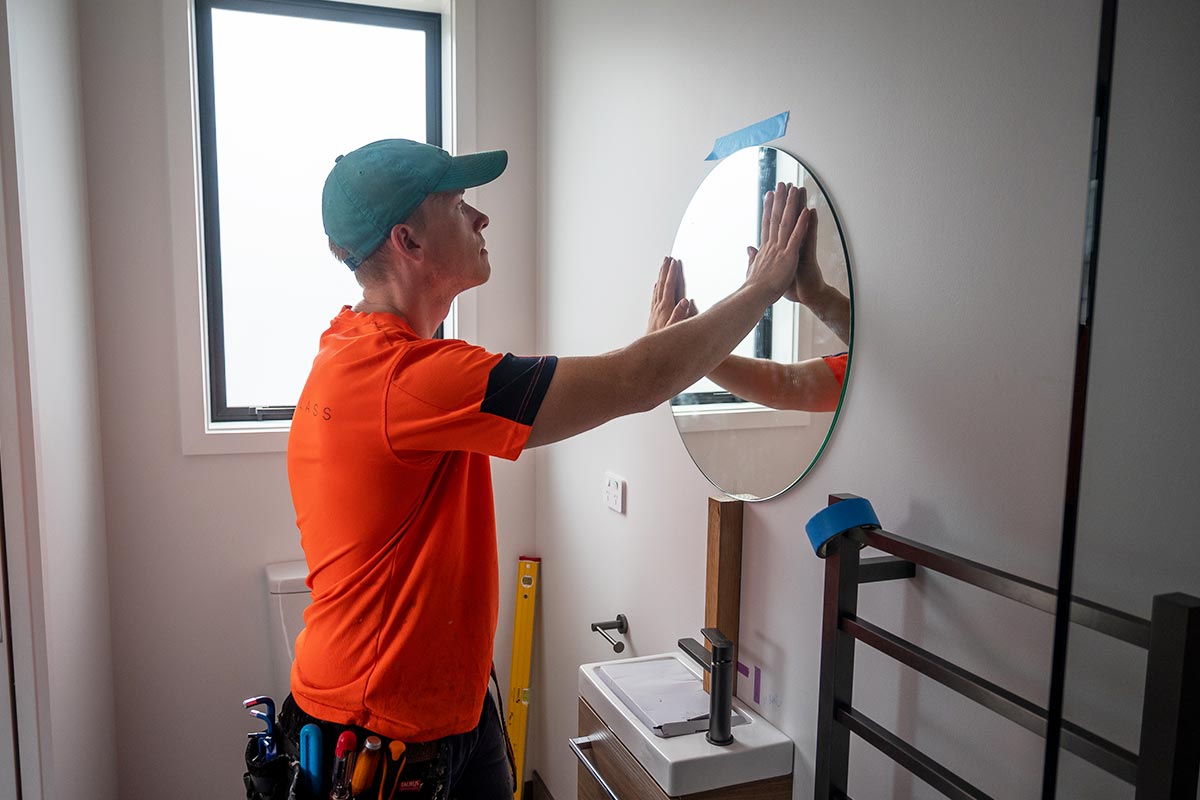
3.2.1. Secure the Props: If the mirror isn't resting directly on a surface (e.g., above a vanity or skirting), you'll need props to keep the mirror in place while the glue sets. Typically, small pieces of timber trimmed to the desired size work well. Secure them to the wall using wall tape, and they should remain in place as the mirror's weight is applied.
3.2.2. Apply the Glue: Apply high-tack mirror glue evenly to the rear of the mirror. Be mindful not to apply excessive glue near the edges that might ooze out when the mirror is adjusted.
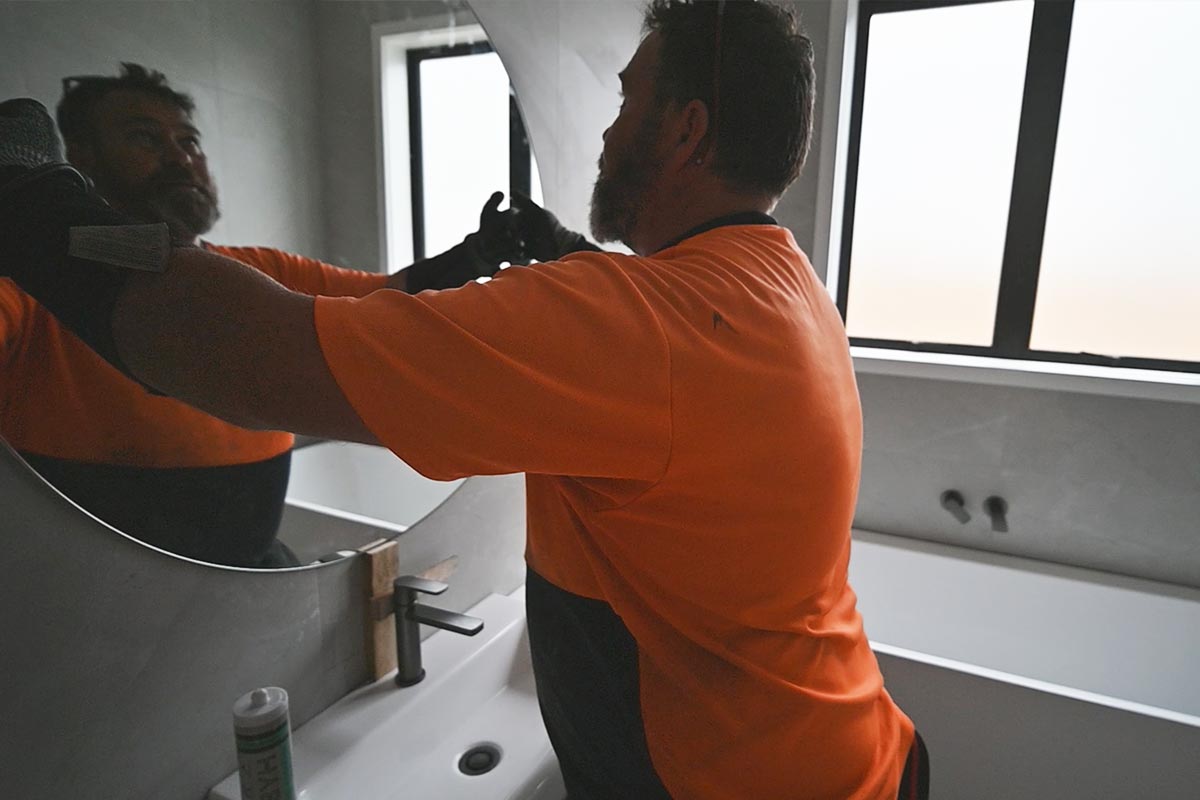
3.2.3. Hang the Mirror: Gently lift the mirror and position it flat against the wall. Ensure it is secure by pressing firmly across all areas of the mirror, pushing the glue into the wall.
3.2.4. Final Adjustments: Double-check that the mirror is level, and make any necessary adjustments. A controlled push in the desired direction can help fine-tune the mirror's position.

3.2. Using Brackets
3.2.1. Drill Holes: Employ an appropriate drill bit and wall anchors to create holes at the points marked in Step 1. Ensure you wear safety goggles to protect your eyes from debris.
3.2.2. Secure the Brackets: Attach the mirror brackets or clips to the wall using screws and wall anchors. Ensure they are level and firmly fastened.
3.2.3. Hang the Mirror: Carefully lift the mirror and hook it onto the brackets. Confirm that it is level and securely attached to the wall.
3.2.4. Final Adjustments: Double-check the mirror's level, and make adjustments if necessary. Ensure it is securely fastened to the wall.

Step 4: Safety Precautions
When working with mirrors, safety is of paramount importance. Here are some crucial safety tips to keep in mind:
- Always wear safety goggles when drilling walls or tiles.
- Always wear gauntlets (wrist protection) when handling glass.
- Use appropriate wall anchors and screws to guarantee a secure installation.
- For large or heavy mirrors, consider seeking professional installation assistance.
Conclusion
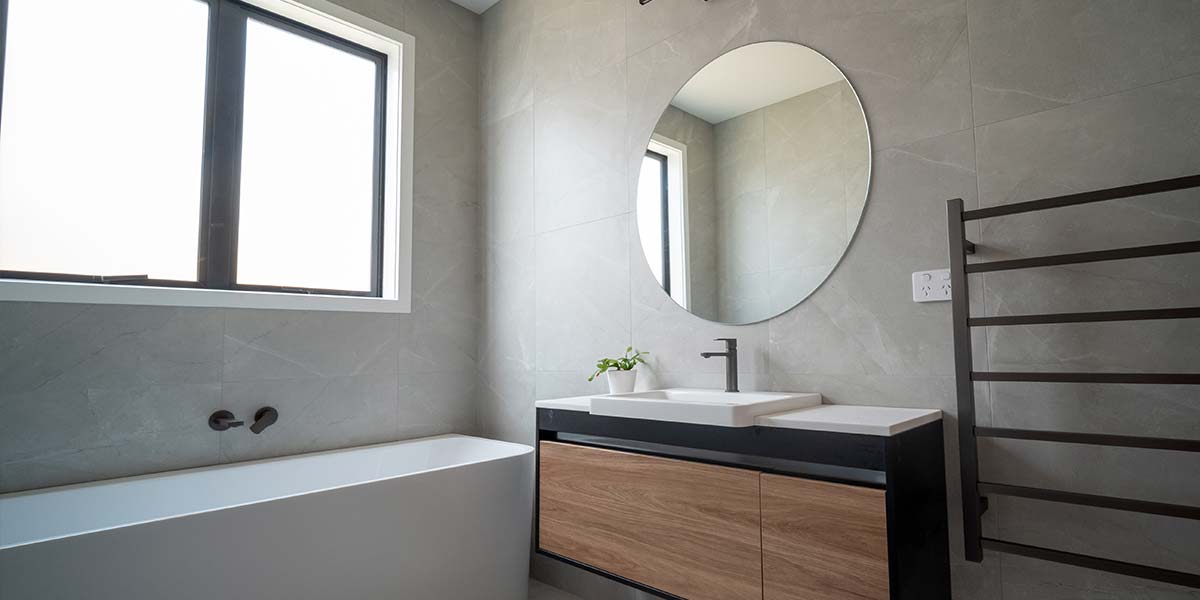
Successfully installing a mirror in New Zealand, or any location, requires precision in measuring, thorough preparation, and careful execution. A well-placed mirror has the power to transform the ambiance of a room, making it feel more open and well-illuminated. By following the steps outlined in this guide, you can confidently measure and install a mirror that enhances both the aesthetics and functionality of your space. Whether you're updating your home or a commercial establishment, a thoughtfully installed mirror can be the perfect finishing touch.


